[carousel-horizontal-posts-content-slider]
Plans
Simple perfection! The Indio Coffee Table is a super simple and super quick DIY coffee table build. Summer is quickly approaching and is begging you to bring the inside out. Build the table today and the sofa tomorrow and you will be well on your way to a complete outdoor living space.
Plans
By special reader request – the Indio Sofa! This quick and easy build is gorgeous and is the perfect partner for your Indio Coffee Table (plans are coming down the line next). Did we mention that it can fit three
Deep Seat Cushions? Perfect for the whole family or maybe just some solo relaxation and summertime fun!
Read More
Showcase
Just in time for warm weather season, a reader showcase for an outdoor slatted loveseat! This happens to be inspired by the outdoor collection I have and love…
Dave says: My daughter and I built this bench for her patio.
Plans
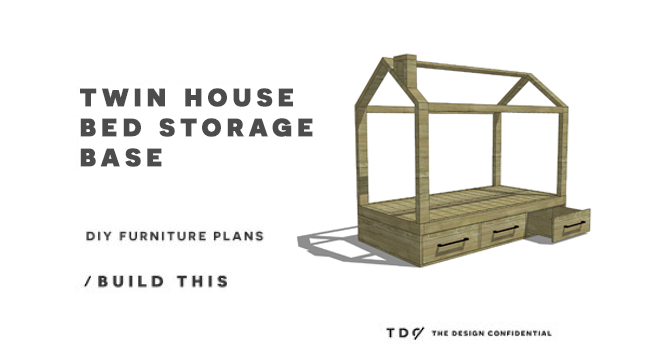
Ready to upgrade your Twin House Bed? How about some amazing storage tucked away beneath it? This storage base features 6 spacious drawers and plywood panels to keep all of the kid crumbs out of said drawers. This plan is the perfect compliment to our Twin House Bed Platform + Chimney. Let’s get building!
Featured / Home / Shopping / Studio

At long last I am super excited to annouce Confidential Print Shop is open for business and printable art is first on the menu. I have actually had the shop set up for months, but I was feeling extremely anxious about hitting the publish button on this post. I’m not entirely sure why, but it most likely stems from a fear of failure. Truth be told, setting up a storefront and selling something that is uniquely yours and not made by someone else, is terrifying. Because what if no one cares? What if everyone hates it and never buys a single thing? Does that mean they don’t like you or your work? Is it a reflection of how the public perceives your taste level? As a design professional, this is a monumentally difficult hurdle to jump because the answer is probably yes. Read More
Plans
Were you EXHAUSTED from the last build? Well then, keep your nose to the grind and build this DIY queen sized Monterey bed! As soon as you place that last pocket screw, you can collapse into this huge and perfectly simple beautiful bed. We promise.
Showcase
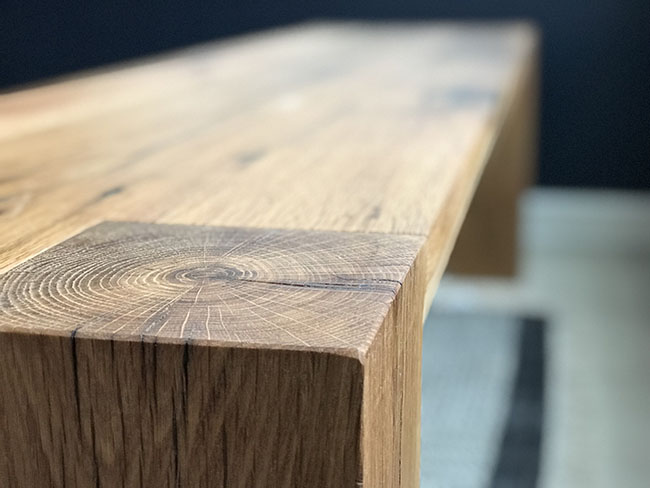
It has been far too long since I have posted a Reader Showcase! I have a list a mile long of glorious projects to share with you all and I will try my best to get caught up. First up is this glorious beast of a bench from WoodShaped. For all of my builders out there who like to see first hand – the building process – this gorgeous build has all the deets for you to peep in a two part series you can view on YouTube. Yahoo! Here is what he says: This bench is part of a Table/Bench combo that will go in our kitchen. These pieces were rough when I first got them but really brought out the beauty of this wood.
Plans
With the coming Summer weather, you are totally obligated to make this sofa! It is extremely sturdy, extremely deep, and extremely margarita worthy for poolside parties! Make it – take a picture of it – and show how awesome you are! We almost forgot to mention that it can fit a standard twin mattress! Combine it with a waterproof cover and you may have yourself a less expensive option for outdoor cushions!
Build / Design / Home
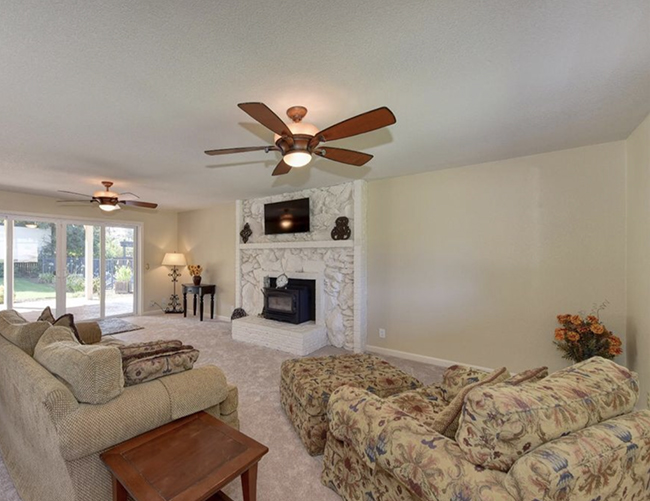
 We closed on our house in early December, but we didn’t move in till the end of January. Truthfully, we are still moving in, even though we have officially been living here for a month and a half. Before we bought the house, the sellers had replaced the carpet downstairs in the family room, but the carpeting on the stairs and throughout the upstairs bedrooms, was absolutely trashed. When I say trashed… I literally mean we needed to entirely replace the flooring upstairs before we could or would actually move our stuff in. Read More
Build / Home

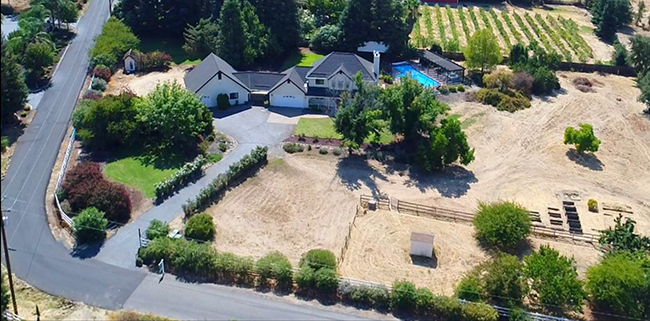
Pull up a sofa, let’s curl up by the fire and chat about all things DIY renovation, here at the Blonde Birch Farm. Except the fireplace is currently indisposed and not functioning (and partially sitting on the back patio), so we can’t quite do that just yet – but soon – promise! Read More
Build / Home
 If you are a long time reader of this old blog, you might be wondering about my radio silence for the last couple of months… I heart you all for sticking around and sticking it out! If you follow me on instagram, you may already have a clue what I have been up to, but if not, then you should because at least for the next little bit, I will try my best to be more up to date with the latest happenings over there. It will be more real-time… if you will. So let’s dive in and get you all caught up, shall we? Read More
Design / Home / Shopping / Studio
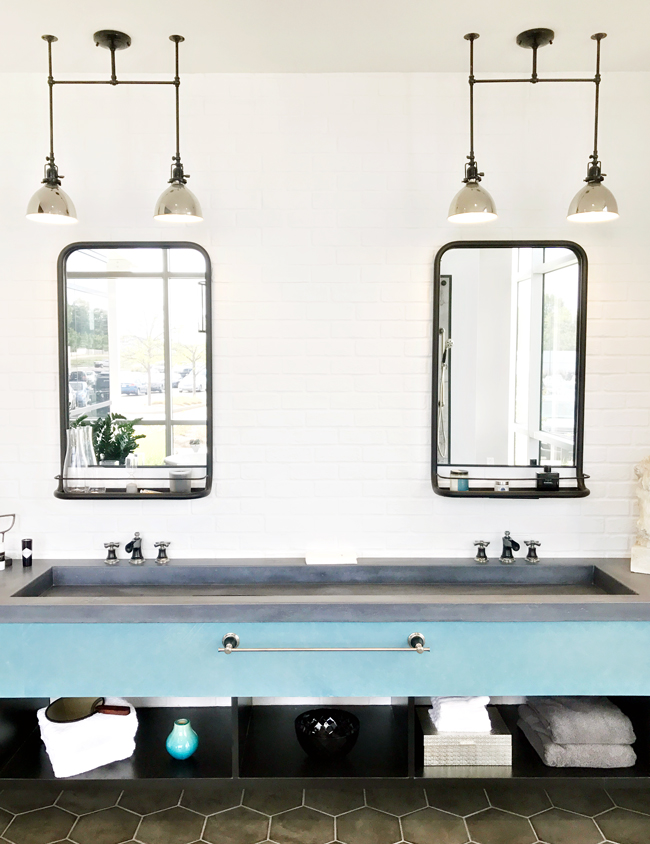
 A couple of months ago I had the great pleasure of heading out to Indy with Delta Faucet. While you may not instantly think a trip about faucets would be a great pleasure, I can tell you wholeheartedly it was. I have been on a many, many trips with brands in the past, but this particular event was extra special, not only because of the brand but certainly because of the small but amazing group of bloggers and designers I had the good fortune to be surrounded by. Read More